Learn How to draw A Foot Soldier Quickly & Easily!
The guidelines in this one don’t have to be perfect because they don’t represent the final drawing. Still, take some time to create a rough sketch that will be quite helpful further down the road. So, to learn how to draw a Foot Soldier, start with a circle in the top corner (00 min 35 sec). Divide it using two lines to define where the facial features will be.
There’s actually no point in describing the rest of the rough lines because they are intuitive and won’t take much to create (01 min 01 sec). Follow the video and you’ll be fine. As for the clean drawing, it’s far more complicated and will require a lot of work (03 min 08 sec). Begin with the top of the helmet and move to the left eye.
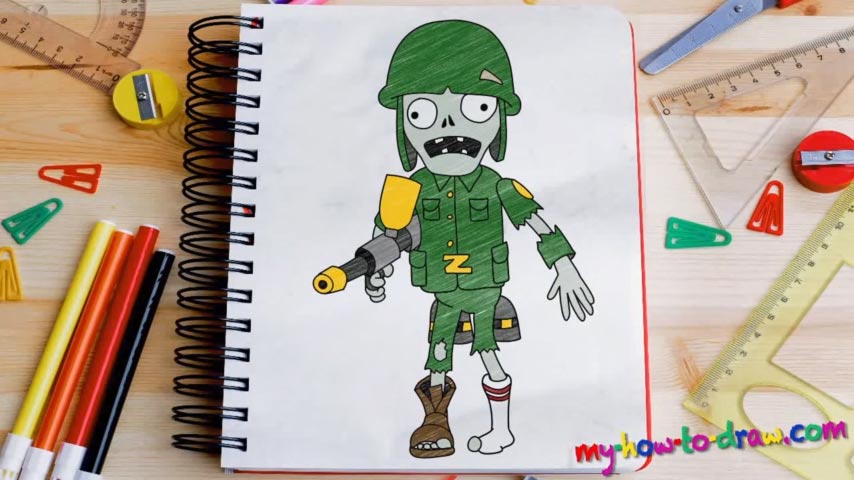
Please keep in mind that this how to draw a Foot Soldier tutorial features a cartoon-like character and that is why the right eye is bigger than the left one. The nose is just two dots (03 min 37 sec). The mouth is also simple. If the facial features look good, go ahead and finish the helmet (04 min 30 sec). It should be a lot taller than the guiding circle.
Next, instead of the body, take care of the left arm first (05 min 06 sec). It’s pretty sophisticated and, since it’s holding a gun, you’ll have to make everything perfect in order for the drawing to look realistic. Hopefully, the guides will be enough :). Take your time with this step of the how to draw a Foot Soldier manual.
All good? Then let’s move to the right hand (07 min 00 sec). It’s not nearly as hard as the left one. The body is the easiest part (08 min 04 sec). The legs, however, are a bit tricky. The pants are short, and the right leg misses its shoe (10 min 23 sec).
Before you learn how to draw A Foot Soldier, did you know?
As a commercially-successful and fan-favored online game, PVZ introduced a lot of fun, unique, and engaging characters that the players really love to draw and feature in all kinds of other art forms. These soldiers are awesome and look like a million bucks.