Learn How To Draw The Number 4 Quickly
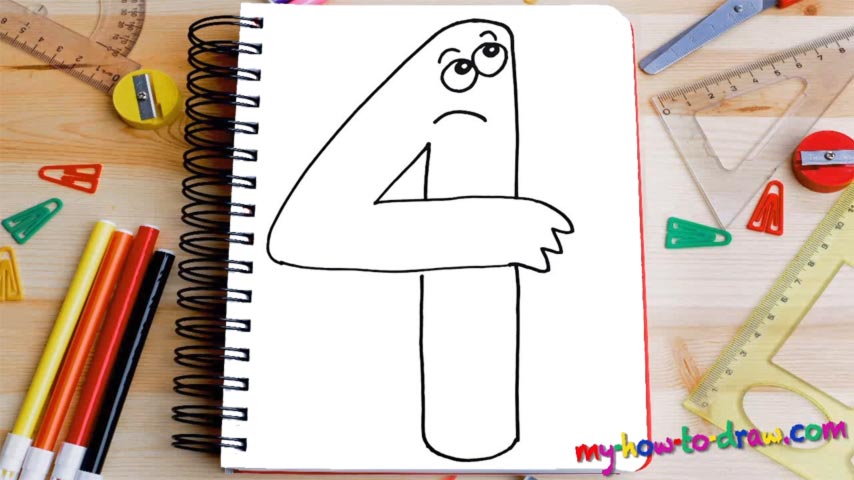
Instead of making it just another digit, we decided to turn it into a living, conscious number with a sad look and one leg to stand on. Start by putting a horizontal line somewhere in the middle of the paper (00 min 08 sec). Add another one just above it and a bit to the right. Ok, now we can get to the meat and potatoes of this how to draw The Number 4 tutorial.
You’ll need an arc-like curve to cover the upper half of it (00 min 20 sec). For the bottom half, use two vertical lines and one horizontal curve to cover the ground (00 min 28 sec). See that reversed “V” in the middle (00 min 37 sec)? Don’t forget to add it there. The “fingers” on the “hand” are the next step in our how to draw The Number 4 guide.
We’ve got three in total. Finally, move to the upper corner and let us work on the eyes (00 min 52 sec). They are absolutely identical to each other but the one on the right sits higher. The brows are simple. The mouth makes it look sad (01 min 01 sec).
Before you learn how to draw The Number 4, did you know?
This is a very “solid” number. If you get a 4 at school, your parents will probably congratulate you – same goes for your peers. The modern-day families usually consist of four members. The Four Horsemen, in turn, play a key role in The Holy Bible and are believed to be well on their way to planet Earth (not confirmed, though).
The classical elements include water, earth, air, and fire – 4 in total. There are 4 seasons: autumn, winter, spring, and summer (the order is not important). Plus, we have four continents on the planet, and those include Eurafrasia, Antarctica, the Americas, and Sahul. Finally, west, east, south, and north are the so-called cardinal directions.