Learn How To Draw A Watermelon Quickly
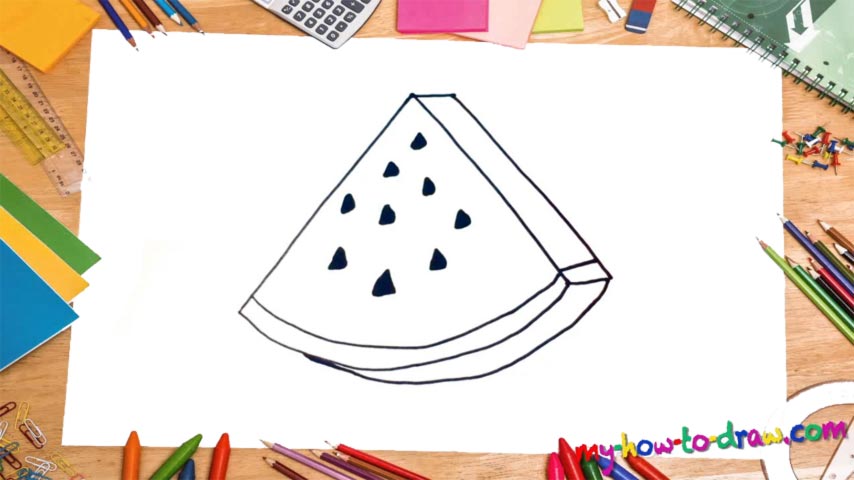
Basically, it’s just a slice sitting in the middle of the paper – nothing hard about that. If you take the seeds away, it will start to look like any other fruit or even cheese. Start with two lines that form a “pyramid” (00 min 05 sec). Cover the bottom with two identical curves (00 min 16 sec). This how to draw a Watermelon tutorial in three-dimensional.
And the simple lines on the right side will take care of that (00 min 26 sec). You’ll need another curve in the lower corner to complete the shape of our tasty fruit. Alright, we’re down to the final stage, dear friends. If you’re not happy with the lines and curves, make sure to go back and fix them.
All looks good? Ok, then let’s finish this how to draw a Watermelon tutorial by adding the seeds (00 min 42 sec). They should be slightly different in shape, but don’t pay much attention to that. Just make them look realistic.
Before you learn how to draw A Watermelon, did you know?
As one of the tastiest fruits in the world, the watermelon has always been in large demand across the planet. That’s especially true back when it wasn’t cultivated in as many countries as it is today. Technically, it’s a plant, but we’re all used to calling it a fruit because of the taste and the overall “vibes”. They say that the watermelons date back to Ancient Egypt.
And, they first originated in the South-African region. The flesh should be red and juicy – that’s how you’ll know that it’s ready to be eaten raw. The black seeds are frustrating for some folks, and that is why there are some seedless species available. The rind, by the way, is also edible (after it’s properly cooked, of course). It’s safe to say that as far as the tastiest fruits go, watermelons are right there among the leaders.