Learn How To Draw A Thermometer (Kawaii Version) Quickly
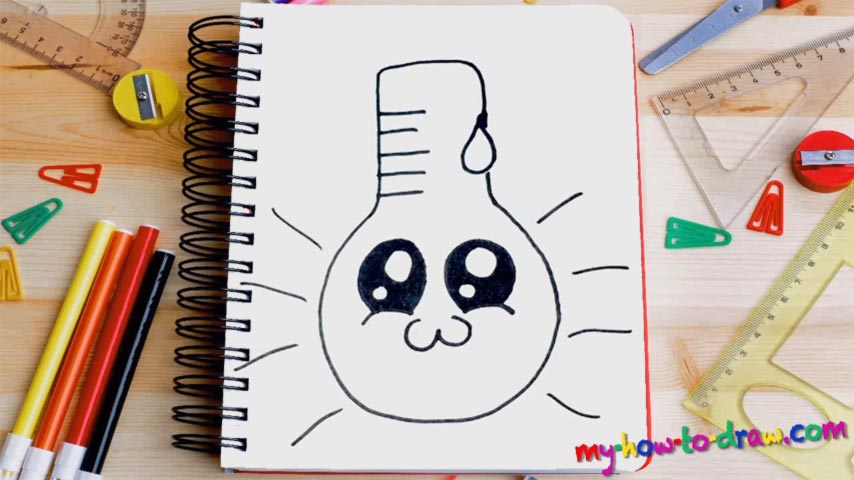
We begin with the main body of our “character” – the bulb if you will (00 min 06 sec). It’s pretty standard and doesn’t come with any fancy details. You’ll need a circle at the bottom of the paper that gradually turns into a flask at the top. That’s the intro to this how to draw a Thermometer (Kawaii Version) tutorial. And, it’s also the most important part.
See that gap in the top right corner? Leave it there for now. What you’ll need to do at this point is go ahead and create five simple horizontal lines in the top left corner (00 min 19 sec). Only then should you move on to the right and add that “tear” (00 min 25 sec). Alright, we’re done with the top of this drawing. Let’s jump to the bottom and see what we’ve got there.
You’ll need two big and identical eyes sitting right next to each other (00 min 33 sec). Yes, this is the how to draw a Thermometer (Kawaii Version) tutorial, and facial features are a must-have in this genre. Leave two circles (one small, and one average) inside each. The funny nose follows (01 min 28 sec). The last thing to do is add the lines on both sides of the body.
Before you learn how to draw A Thermometer (Kawaii Version), did you know?
Today, in the 21st century, these things are not really considered to be something incredible. But back in the day (say, in the 16th century), they were quite a big technological break. The thing is – thermometers have been around since the Ancient Greeks; but, without a scale.
In the 18th century, they became one of the finest inventions of our kind and found their use in medicine, science, sophisticated factories, and even the military. The official “range” for a thermometer goes from -272.5 degrees (Celsius) to 1,085 degrees.