Learn How To Draw A Teapot Quickly
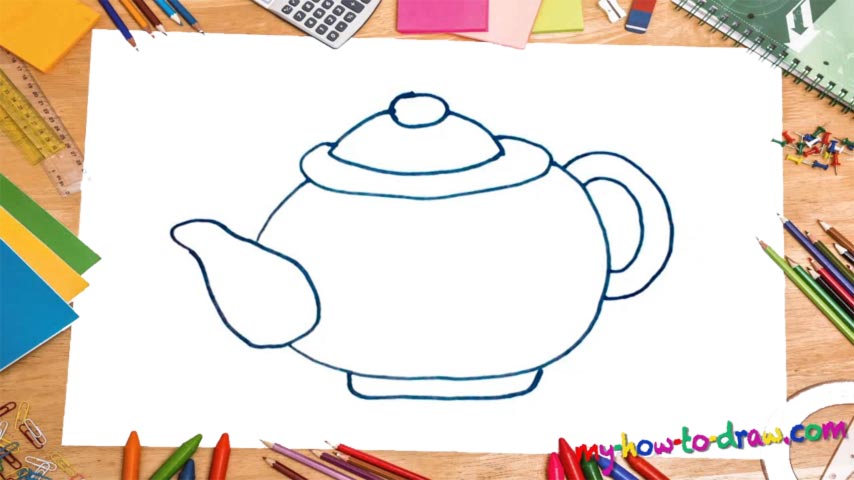
I highly recommend starting with the “nose” on the left corner (00 min 05 sec). It’s a simple shape, really, but will help you get everything in perspective. And that’s the most important thing in this how to draw a Teapot tutorial. Once it’s in place, go ahead and add a huge half-circle that covers the main body of our teapot (00 min 18 sec).
The foundation is just one simple curve at the very bottom of the paper. The top of the drawing is covered by the lid (00 min 40 sec). It’s a classic, or, rather, an old-school lid that is still in large demand. You’ll need a horizontal half-oval for the lower part and a different shape for the upper part. Ok, now we’re almost there!
The last stage of this how to draw a Teapot tutorial is the handle in the right corner (01 min 10 sec). Two similar curves of different sizes – that’s all you’ll need to succeed. Looks quite like the real thing, doesn’t it? If you want, go ahead and color the teapot.
Before you learn how to draw A Teapot, did you know?
Do you like to drink tea in the morning? The folks over in Britain and in Japan certainly do. In fact, this old tradition has found its place in the hearts of many nations on the planet. And, some of us still like to gather around with our friends and have a nice talk while drinking a delicious cup of tea. The teapot is a vital part of this “ritual” – always has been.
We put our herbs and/or tea leaves inside of it and mix it with hot/boiling water. After a couple of minutes, we pour the tea into a cup – that’s it! These days, there are dry tea bags that make everything easier and faster. However, that doesn’t mean it still tastes as good. Besides, sometimes, it’s not about the end result but the “road” towards it.

