Learn How To Draw A School Quickly
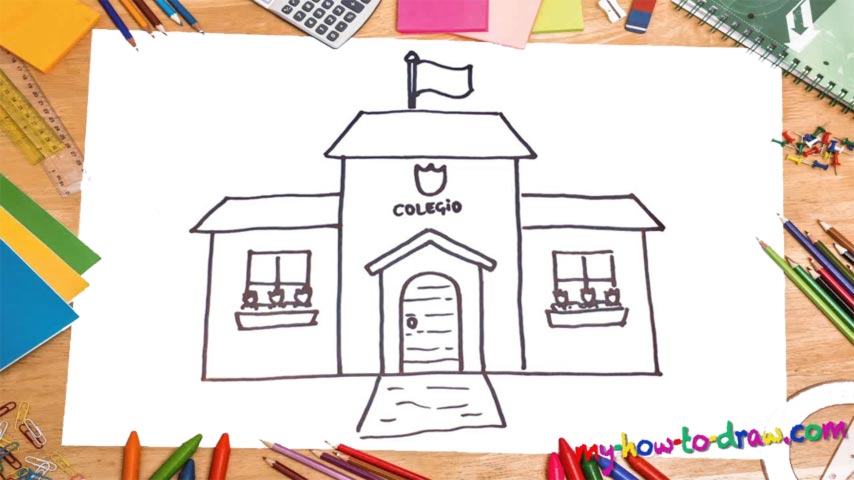
This is one of the finest guides on our website. It’s simple enough for the beginners to handle and looks awesome so that you can brag about it to your friends. The foundation is the first step in this how to draw a School tutorial (00 min 07 sec). You’ll need straight vertical lines on both sides (00 min 17 sec). The tiled roofs follow (00 min 25 sec).
Leave just as much space between them as I did in the video. Now get to the main part of the school that sits in the very middle (00 min 51 sec). It’s significantly taller, but the roof is pretty much the same. Ok, we’ve got the entire building down. It’s time to move on to the details. The front door should be nice and smooth, with a curve on the top and a tiny handle on the left side (01 min 20 sec).
The next step of this how to draw a School tutorial is the canopy (01 min 35 sec). It looks cute and will protect the kids from the rain. The road in front of it shouldn’t be super long (01 min 50 sec). The windows on both sides sure look great with those flowers, don’t they (02 min 00 sec)? You’ve got three flowers for each. The patriotic flag on top of the building, along with the school’s emblem, is the final step (00 min 03 sec).
Before you learn how to draw A School, did you know?
In different regions around the world, schools look a bit different from each other, but the main idea is the same. These institutions are meant for the children, and their purpose is to turn them into educated and responsible human beings that will control the new world.
Both the boys and the girls have their special uniforms, and in some countries, there are many exclusive schools where only one sex is allowed. However, that’s not a common practice. By the way, did you know that originally, the word “school” used to mean “leisure” in Greek? Yep, they changed it later, though!

