Learn How To Draw A Fishbowl Quickly
This is a three-dimensional drawing, and we have to make sure it looks the part. Begin in the upper left corner and create a huge a huge half-circle (00 min 14 sec). Once you’re done with it, add a horizontal curve to cover the top (00 min 22 sec). At this stage in the how to draw a Fishbowl tutorial, it looks like a piece of cheese, doesn’t it?
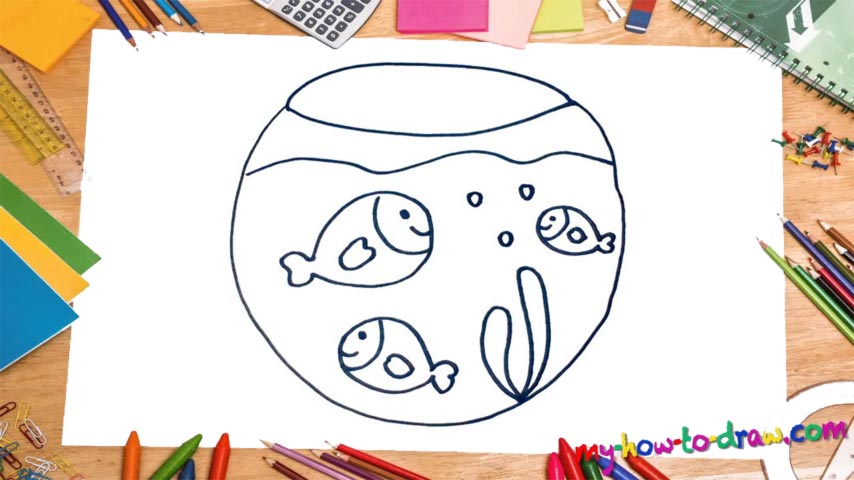
Don’t worry: as soon as you create another horizontal line on top of the first one, the drawing will become 3D and start to look like a real fishbowl (or a vase). See that line inside of the bowl (00 min 29 sec)? It’s there to represent the level of the water. Below it, you’ll find 3 fish. They all resemble big chunks of pork from the classic cartoons (00 min 36 sec).
They are the last part of this how to draw a Fishbowl tutorial. Along with the “porky” bodies, they come with fins and funny faces. To complete this lesson, go ahead and add the seaweed at the very bottom of the bowl (01 min 16 sec).
Before you learn how to draw A Fishbowl, did you know?
The classic, bowl-shaped aquariums are known as fishbowls. There are many different variations of the same concept, but usually, there should have at least one transparent side so that we, the humans, can watch the marine live inside those boxes/bowls. Turtles, crabs, and several fish species are the most popular “guests” of these vivariums.
As a general rule, if you want to make life easier and more enjoyable for a certain underwater creature, you should try to simulate at least a part of the ecosystem for that particular beast. That way, it will feel more at home and get to live longer. The first public aquarium was introduced to the world back in 1853. These days, tanks filled with water are a very common thing.