Learn How To Draw A Cup Of Coffee Quickly
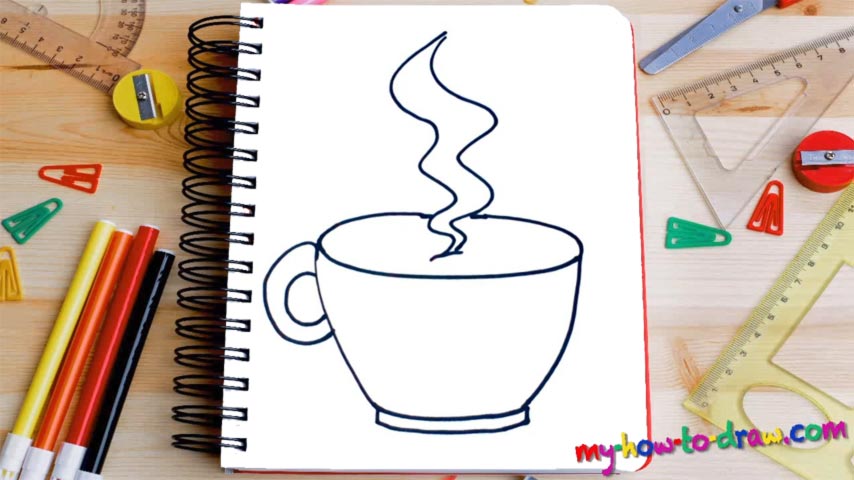
We have a simple cup in this video, one that many would call a classic. It comes with a tiny handle and a very old-school touch. Start this how to draw a Cup Of Coffee tutorial on the left side and gradually move to the right (00 min 05 sec). Don’t try to complete the whole thing in one go but rather use three separate lines for this.
For the bottom, add another line to create the foundation (00 min 14 sec). Alright, let’s jump to the top of the drawing and create a horizontal oval to cover the top (00 min 21 sec). But make sure you leave a tiny spot in the upper corner for the steam to come out. For the handle, use two curves that look like the reversed letter “C” (00 min 31 sec).
The aforementioned steam is the final step in this how to draw a Cup Of Coffee tutorial (00 min 41 sec). You’ll need two wavy lines for this part. Check out the video for more details. Looks nice and tasty, doesn’t it, especially inside that beautiful cup?
Before you learn how to draw A Cup Of Coffee, did you know?
Sometimes, all you need to wake up in the morning after a hard day at work is a nice cup of coffee. The caffeine inside those grains will give you the necessary “kick” to get yourself together and take care of your responsibilities. The enchanting aroma and the steam work as additional motivation to start the day the right way and get to business.
People who work 24/7 and men/women in the government elite can’t afford to be sleepy. That is why they drink countless cups of coffee: to stay frosty and to solve the tasks at hand. The very first mention of this magical drink dates back to the 15th century. It appears that the people of Yemen were the ones who enjoyed coffee long before the rest of the world.

