Learn How To Draw A Closet Or Wardrobe Quickly
The most important thing to remember while working on this drawing is that it’s in 3D. Keep that in mind and watch the video closely to nail it. Let’s start this how to draw a Closet Or Wardrobe tutorial with a rectangle in the middle of the paper (00 min 06 sec). Make sure you’ve got the bottom right and that line is not 100% straight (it’s important for 3D).
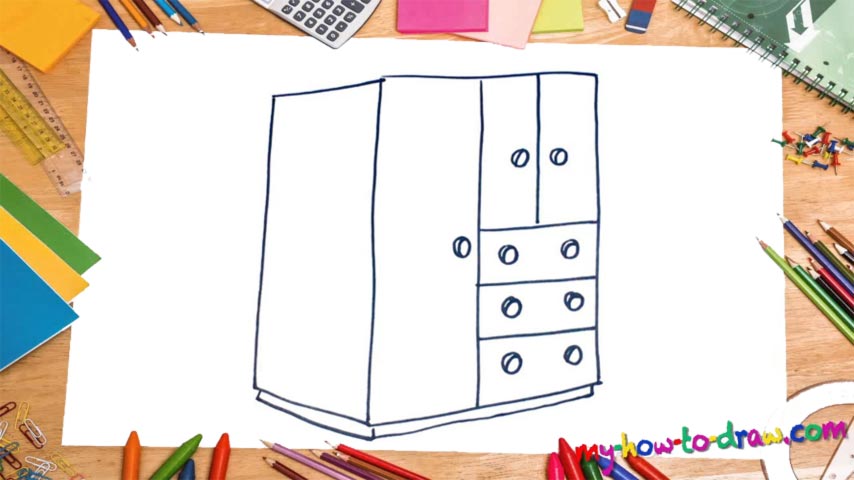
Use three regular lines to complete the left side of the closet (00 min 25 sec). Next, draw a straight vertical line right in the middle of the first rectangle to divide it into two equal parts (00 min 35 sec). A tiny handle is all you’ll need for the left side. That’s where we’ll store our jackets and sweaters. As for the right side, you must divide it into even more separate “blocks” – five in total.
This next step in the how to draw a Closet Or Wardrobe is easy and straightforward. Use straight lines to define the various sections and add the handles just like I did in my example. Looks awesome, doesn’t it? To finish this tutorial, go ahead and add the stand at the very bottom of the closet (01 min 22 sec).
Before you learn how to draw A Closet Or Wardrobe, did you know?
There’s nothing special about a closet: we just use it to “store” our clothes and some old stuff that we don’t really use anymore. You’ve got a couple of drawers for the underwear, the socks, and the ties. Plus, there’s a much taller “room” for the jackets and coats.
The modern-day houses come with built-in closets which free up a lot of space and make everything much more accessible. Or, if you’re more of an old-fashioned person, go for a classic closet that will give the room a certain vintage touch. The choice, as always, is yours!