Learn How To Draw A Bow And Arrow Quickly
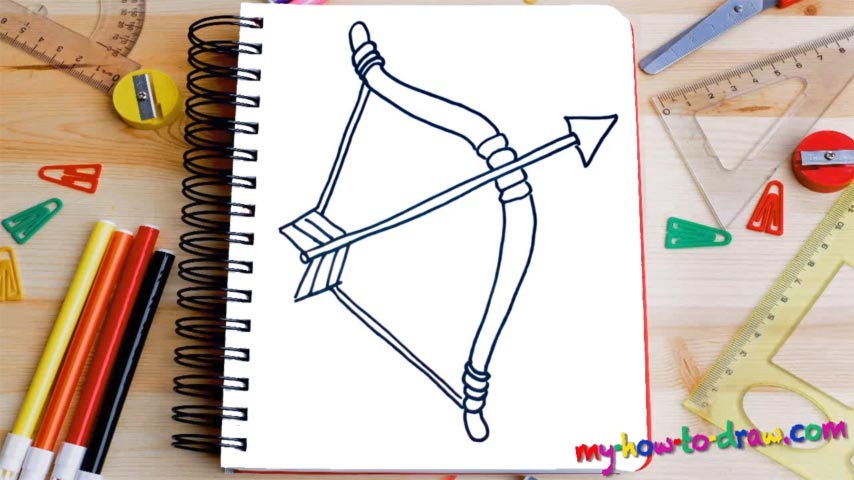
The long and sharp arrow comes first in this video guide (00 min 06 sec). You’ll need two parallel lines for the main body and a super-edgy head for the tip in this how to draw a Bow And Arrow tutorial. A triangle in the right corner will be perfect for this (00 min 20 sec). As for the lower half, it consists of two identical sides that allow for a much smoother grip (00 min 26 sec).
See, nothing hard about the first part, right? And now we get to the bow (00 min 40 sec). It looks a bit like a candy, doesn’t it? Once that’s in place, you’ll be almost done with this video. All that’s left to do is work on the left and right sides of the bow and make sure they are identical to each other. The wooden part is the next step in this how to draw a Bow And Arrow tutorial (00 min 53 sec).
The curves are very easy and straightforward. The rope wrapped around the tips, however, might be a bit trickier (01 min 10 sec). But it’s nothing a series of horizontal curves won’t fix :). Connect the rope to the arrow and that’s it! Again, the two sides are very similar to each other and there’s no need to introduce and differences between them.
Before you learn how to draw A Bow And Arrow, did you know?
You might say that this weapon was only relevant during the Middle Age, and nobody in his/her right mind will use it in the 21st century. And while that’s absolutely right, for some reason, the bow and arrow is extremely popular today in what’s known as “popular culture”.
You’ve got the Arrow TV Series breaking all kinds of records, and Lara Croft and other iconic video-game characters looking badass killing the bad guys with this weapon, to name a few. Plus, regular people are getting more and more interested in mastering the bow and arrow and attend special classes at shooting polygons worldwide.

