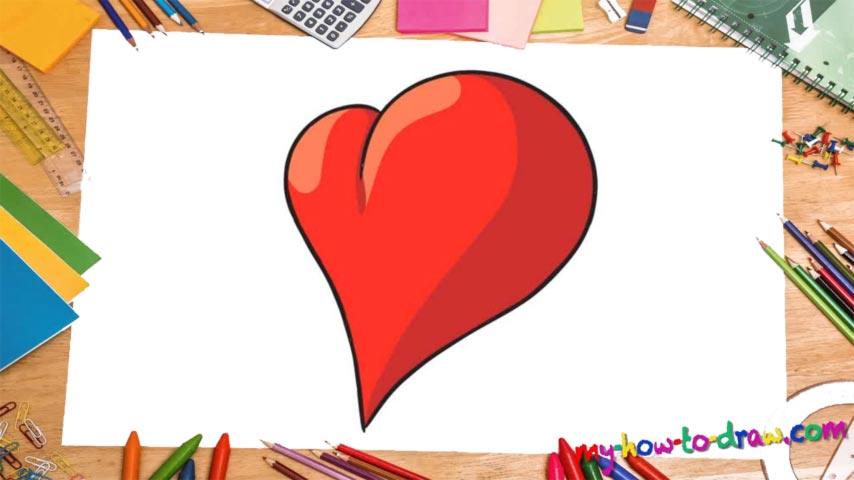
Learn How to Draw a 3D Heart Quickly & Easily!
This heart is mighty beautiful. It’s round, lively and looks like something the best animators would create. So, let’s learn how to draw a 3D heart like that right now. First things first, draw a circle in the middle with light strokes – so that you can erase them later (00 min 17 sec). Next, draw another circle – one that’s much smaller and overlapping (00 min 25 sec).
Please keep in mind that these two circles will allow you to define the angle of the future heart. That means you can spend some time experimenting and trying to find just the right angle. Once you’re happy with what you’ve got in your head, move on to the next phase of this how to draw a 3D heart tutorial.
Here comes the most important part. Run two lines through the centers of the circles. They will need to point wherever you want your heart to point (00 min 33 sec). And, make sure the lines overlap. Same thing as with the overlapping circles: play a bit with the angles until you find just the right one. Don’t rush anything – take your time with this.
Done with the lines? Carefully trace around the big circle and bend (or, rather, curve) your line to reach the heart’s point (00 min 49 sec). Do the same with the second circle. That’s it! To keep everything nice and clean, use a marker to erase your guides (01 min 07 sec). Nothing hard about that, huh? Keep practicing until you perfect this nice drawing.
Before you learn how to draw a 3D Heart, did you know?
Drawing a 3D Heart doesn’t need to be difficult. In fact, in this video, you will see how using just two circles and a couple of straight lines we can draw something amazing. You can use this method to draw a heart from various angles.
Once you draw it a few times you should be able to take off the “training wheels” and go for it without the guides. Color your beautiful heart whichever way you like. After all, drawing is all about experimenting and trying new things. At the same time, red is an all-time classic and you can never go wrong with it.

