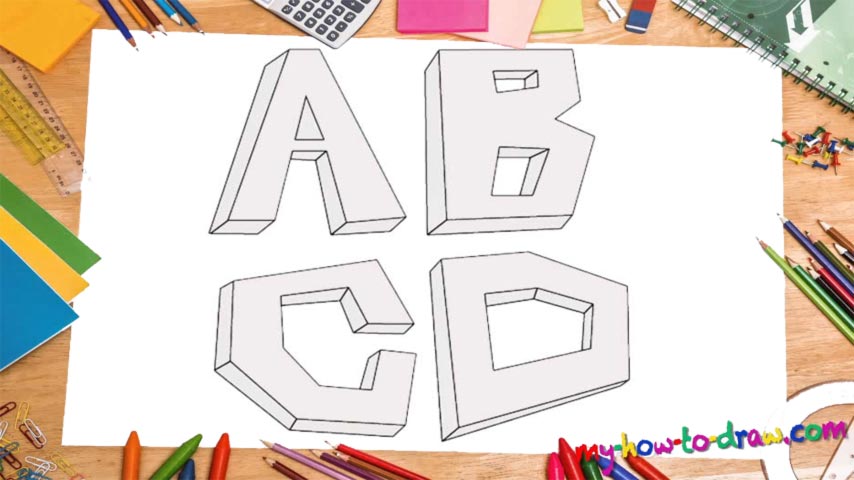
Learn How To Draw 3D Letters Quickly & Easily
Admit it: you’ve always wanted to master this technique! Come on, who doesn’t want to learn how to draw 3D Letters and use them to spell their names or the names of their loved ones? Lucky for you, this is quite an easy tutorial and we’ll be done with it in less than a minute. Begin with putting some basic lines for every single letter like you see in the video guide, starting with the “A” in the top left corner (00 min 05 sec).
You can just do it all in one go, but we’ll stick with the step-by-step method. Connect the various lines to each other to create some regular letters (00 min 16 sec). There’s nothing special about them at this point, but once you add a couple of magical lines here and there, you’ll see the difference. Oh, and don’t forget about the “dip” on the “B” (00 min 20 sec). See those lines at approximately 45 degrees (00 min 25 sec)?
Keep adding those until you’ve got exactly the same number as I do. That’s the most important part of this how to draw 3D letters tutorial. Once they’re all in place, go ahead and connect them to each other and to the original shapes (00 min 30 sec). Every letter is unique, though, so, spend as much time as needed to get everything right.
Before you learn how to draw 3D Letters, did you know?
We’ve got more than one tutorial on this website dedicated to cool tricks with letters. Compared to the other ones, this video guide is simple. It’s the first step towards mastering the art of three-dimensional letters, and you should treat it with respect.
It doesn’t take much effort to turn a regular “A” or “B” into a 3D image. But if you don’t who the basic rules, you’ll waste tons of time and won’t even get a satisfying result. So, follow us in this tutorial and let’s take a look at the tips and tricks for creating realistic 3D letters.

