Learn How To Draw A Candy Quickly
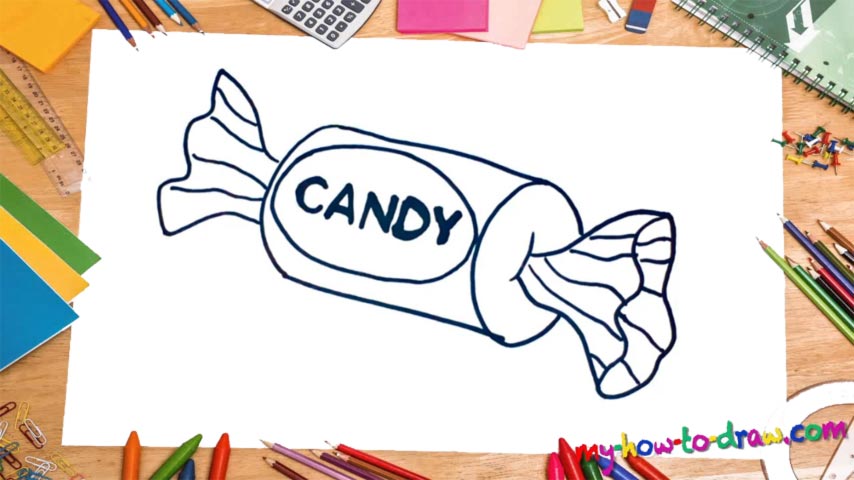
The first thing to remember is that this drawing is in 3D. Keep that in mind while putting all those lines and curves together during this how to draw a Candy tutorial. Start in the left corner with a half-circle to cover the main body of the candy (00 min 05 sec). Use two parallel lines for both sides. For the front, we’ll need a reversed letter “C” (00 min 17 sec). Now it looks like a cork, doesn’t it?
The right side of the wrapper begins in the middle of that “C” (00 min 28 sec). You’ll need smooth curves and wavy lines for it. The one in the back is pretty much the same, with the only exception that it doesn’t look three-dimensional (01 min 04 sec). It resembles the tail of a fish, actually. Ok, now we’re off to the final part of the how to draw a Candy tutorial.
The oval on the side should take up almost all of the available space (01 min 20 sec). The “CANDY” written inside of that shape is the last step. Use regular letters for this one; don’t go for any crazy fonts because they simply won’t fit the overall style.
Before you learn how to draw A Candy, did you know?
Who doesn’t like candy, right? Even grown-ups like it, but they prefer not to show it. Sugar is the main ingredient, and we usually use this word to describe a wide range of sweets. Those include sugar candy, chewing gums, and, of course, chocolate – our personal favorite. Scientifically-speaking, anything that comes with tons of sugar can be called candy.
And, its usually is small and can easily fit in your mouth. However, if you eat too many, you’ll get fat and put your body at risk. So, restrain yourself from eating too much and you’ll be alright! By the way, different cultures treat these sweets differently. Some call them a desert and serve after the main meal, while others call them snacks and consume during the day.