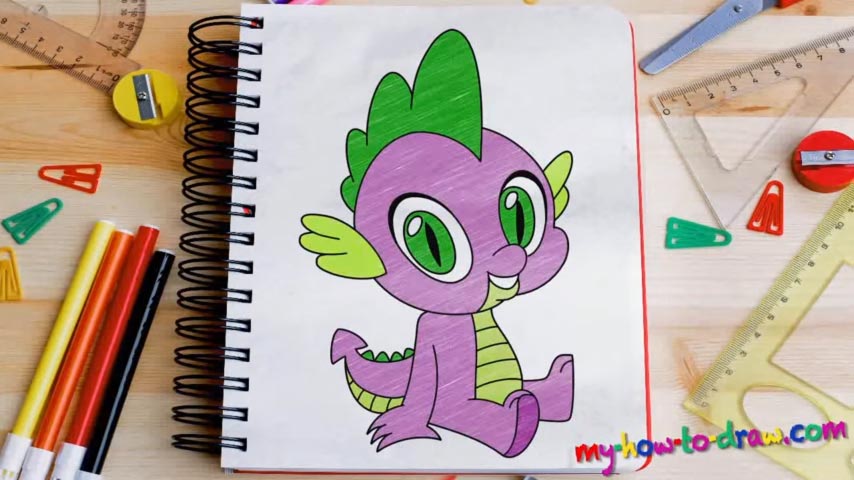
Learn How to draw Spike The Dragon Quickly & Easily!
Dragons are always fun to draw, especially if they’re tiny. In this lesson, we’ll go through a 7-minute video and learn how to draw Spike The Dragon. The facial features are simple, which means you’ll master this drawing in no time. You will need a proper rough sketch before getting down to action, though.
Start with the circle in the middle and divide it with two lines like in all the other tutorials you’ll find on this website. Watch the video carefully and make sure you’ve positioned the curves right (00 min 48 sec). If you mess this up, the eyes and the nose will be of the wrong size and/or wrong proportions. The guidelines for the rest of the body are simple – just a number of lines and circles (01 min 03 sec).
If you’re happy with the rough part of this how to draw Spike The Dragon tutorial, let’s switch to dark strokes and take care of the nose (02 min 14 sec). It should be as smooth as possible and be consolidated with the mouth. The right eye starts on top of the nose (02 min 29 sec). It’s big, bright and adventurous, which is normal for a baby.
The second one looks almost the same, except that it’s bigger (03 min 14 sec). Once you’re done with the facial features, move on to the head and the ears (03 min 55 sec). Nothing hard about this part; so, let’s take care of the hand next. It’s primitive (in a good way), just like the legs that follow. The tail sure looks good, though (06 min 24 sec).
Before you learn how to draw Spike The Dragon, did you know?
The latest My Little Pony received a warm welcome both from the critics and the fans. Spike is one of the main characters of that story. As a baby dragon, he still has a lot of learning to do, but already has a couple of special abilities that come in handy in his quest.