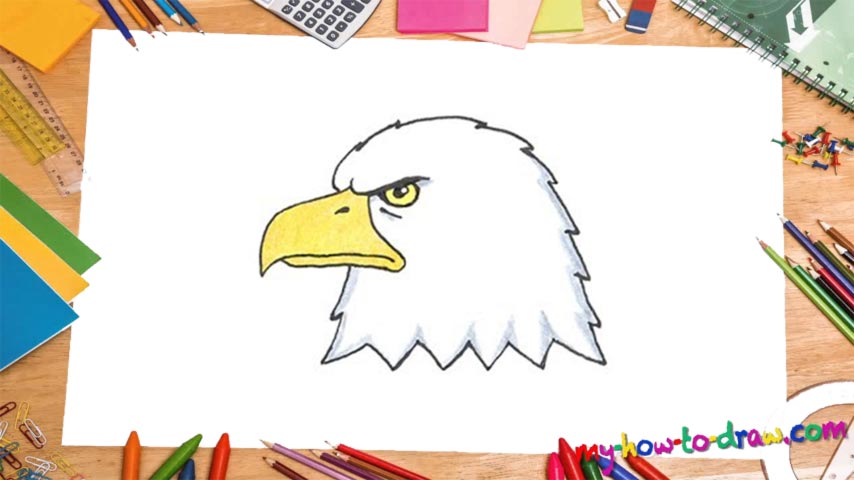
Learn How To Draw A Bald Eagle Head Quickly
We start with a curvy line for the bird’s eyebrows that looks like Nike’s official logo (00 min 10 sec). Make sure it’s nice and dark. The eye sits right below it (00 min 28 sec). You’ll need a simple half-circle for it. The big, thick dot in the middle is, of course, for the pupil (00 min 52 sec). Ok, we are done with the intro to this how to draw A Bald Eagle Head tutorial.
Now let us move to the beak (01 min 10 sec). It’s quite big and pointy in the lower left corner. Once the main part is done, go back to the eye and create a curvy vertical line to cover the right half of it (01 min 45 sec). The lower half of the beak is a lot simpler (01 min 56 sec). The nostril sits near the top (02 min 07 sec).
The head, the final part of our how to draw A Bald Eagle Head tutorial, shouldn’t be smooth but rather zigzag-like (02 min 20 sec). Make sure the curve isn’t very high because then the noggin will be bigger than it should be. The jagged points are for the feathers, of course. The bottom has even bigger zigzags (03 min 18 sec). If you want, color the beak and the eye yellow (03 min 48 sec).
Before you learn how to draw A Bald Eagle Head, did you know?
As one of the most dangerous predators to live on planet Earth, eagles aren’t to be played with. Overall, there are sixty species of eagle in the world, and the majority lives in Africa, Europe, and Asia. There are some in Australia and the Americas as well, but not nearly as many as in the three continents that I just mentioned. However, it is the symbol of the United States.
They’ve got the eagle on most of their banners and flags, and while the Russians have the bear, and the Chinese have the dragon, the Americans are proud of their all-seeing eagle. They are quite powerful and make a living on hunting other animals, mostly rodents and such. With incredibly strong beaks and heads, they’ve got impressive precision and never miss their prey.

