Learn How To Draw The Number 7 Quickly
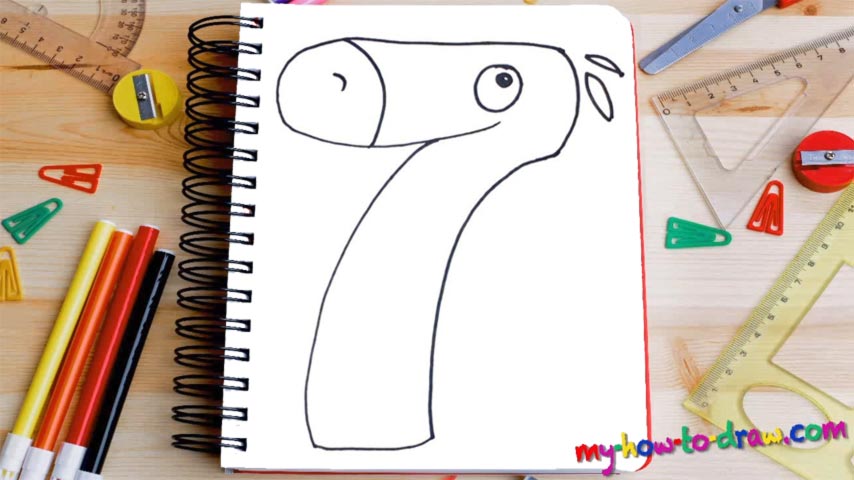
Without a doubt, this is one of the easiest video guides on our website. You won’t even need a basic set of skills to pull this how to draw The Number 7 tutorial off. Just follow my lead and you’ll be fine! We begin in the upper corner with the “head” (00 min 07 sec). It should be nice and curvy and resemble the mug of a horse a bit.
Once it’s in place, move to the right side and add a steep and curvy vertical line to cover the lower half (00 min 20 sec). Make sure to make it nice and thick to fit the top. Alright, the number is in place. We could say goodbye right now, but you should stick around for what comes next. Go back to where we started and let us add some facial features.
The nose is just a tiny curve (00 min 38 sec). The eye sits in the opposite corner and consists of two basic circles. To complete this how to draw The Number 7 tutorial, create two similar shapes like you see in my example (00 min 48 sec). And now we’re officially done!
Before you learn how to draw The Number 7, did you know?
For many, this is a lucky number, along with 14 and 21. Nobody really remembers where it all came from, but, in contrast to 6, this is considered to be the “good” number. And, it is pretty cool, especially if you check out what it looked like in the ancient times. There are 7 days in a week, 7 colors in a proper rainbow, and 7 wonders of the ancient world.
See, this number has always been with us! And get this: in Indian Classic music, there are 7 basic musical notes. On planet Earth, there are seven continents. According to the scientists, the human skin is regenerated every week (every 7 days, that is). As for the cells in our bodies, they live out their cycles in 7 years. Many doctors believe that if they could find a way to make this process go on forever, that would be the key to eternal life.