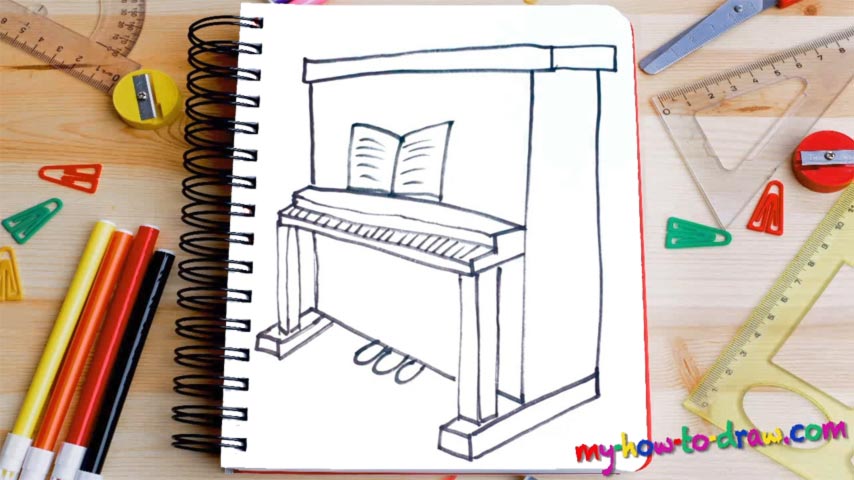
Learn How To Draw A Piano Quickly
Essentially, this drawing consists of a series of rectangles. If you treat it like that, it will be easier to get every part right. Begin in the upper left corner (00 min 06 sec). Remember: this how to draw a Piano tutorial is in 3D, and the short rectangle on the right proves that (00 min 18 sec). Once that’s in place, move on to the main body of the instrument.
Two straight vertical lines will get you started (00 min 27 sec). As for the left side, use only one line and make it half-as-long (00 min 38 sec). Next, go back to the right and let us work on the “legs” of the piano (00 min 48 sec). Again, because of the angle, the left one is only half-visible (01 min 02 sec). Alright, it’s time to move on to the main part of this how to draw a Piano tutorial – the keys (01 min 16 sec).
You’ll need a series of horizontal lines on top of each other to shape the note stand. The keys sit right in the middle of it all (01 min 50 sec). The three pedals sit at the very bottom of the drawing and are essentially three oval shapes (02 min 43 sec). The book with the notes is the final part (02 min 52 sec).
Before you learn how to draw A Piano, did you know?
Without a doubt, the piano is one of the greatest instruments ever made by the human race. It is soulful, touching, intimate, and “funky” all at the same time. And while it’s not that easy to master it, and you probably hate the piano lessons at school, it still is a magical instrument.
Pianos have been around for many centuries, and the masters took their time to perfect the initial “formula.” In contrast to a grand piano, the regular one is much smaller and will fit even in the tiniest room. And, it’s not nearly as heavy as its big brother. Plus, it sounds great.

