Learn How To Draw A Lighthouse Quickly
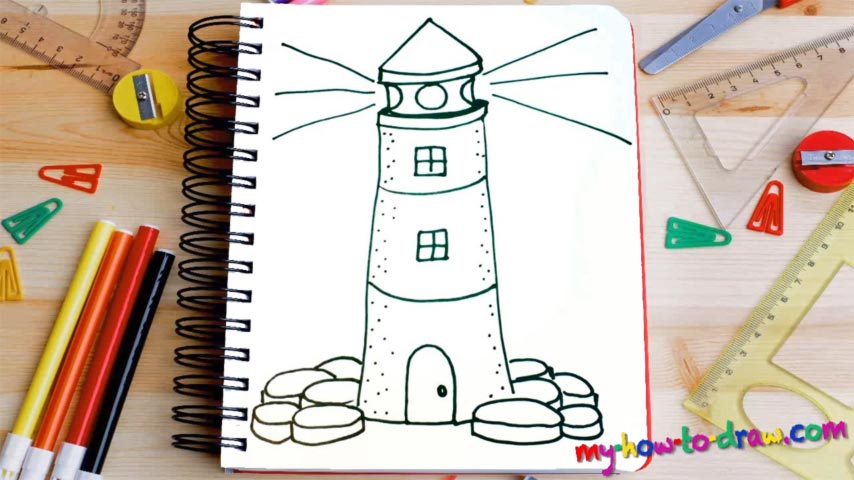
Start in the right corner with a straight vertical line (00 min 05 sec). You’ll need another one just like it in the left corner. Once they’re both in place, add two horizontal curves to lock them up (00 min 14 sec). The next step in this how to draw a Lighthouse tutorial comes with one circle and two ovals that emit the light (00 min 32 sec). The top consists of two more curves.
Plus, there’s a triangle-like roof that covers the upper corner of the paper (00 min 56 sec). See those lines on both sides of the lighthouse? They represent the rays of light. Overall, we’ve got three of those on each side. There are four levels in this drawing. We just completed the 4th. Use two simple curves to separate the rest (01 min 15 sec).
The 3rd and the 2nd are identical to each other and have one window each. The final part of this how to draw a Lighthouse tutorial is the first “floor” (01 min 30 sec). The door sits in the middle. The bags are there to prevent it from floating away.
Before you learn how to draw A Lighthouse, did you know?
These towers serve a very important purpose: they emit a strong light and serve as a navigational tool for the maritime sailors and pilots. Plus, they do a great job of marking the most dangerous spots in the water, including reefs, coastlines, and shoals. If you’re kinda lost in the middle of an ocean and need a safe path to the closest harbors, start looking for a lighthouse – it will guide you.
Now, even though we have detailed maps these days and the traffic controllers can provide you with the safest routes, we still have lighthouses today, because they aren’t totally replaceable yet. Back in the 18th century, when transatlantic transportation became a huge part of the world’s economy, lighthouses turned into the beacons of hope and light.

