Learn How To Draw A Zombie Quickly
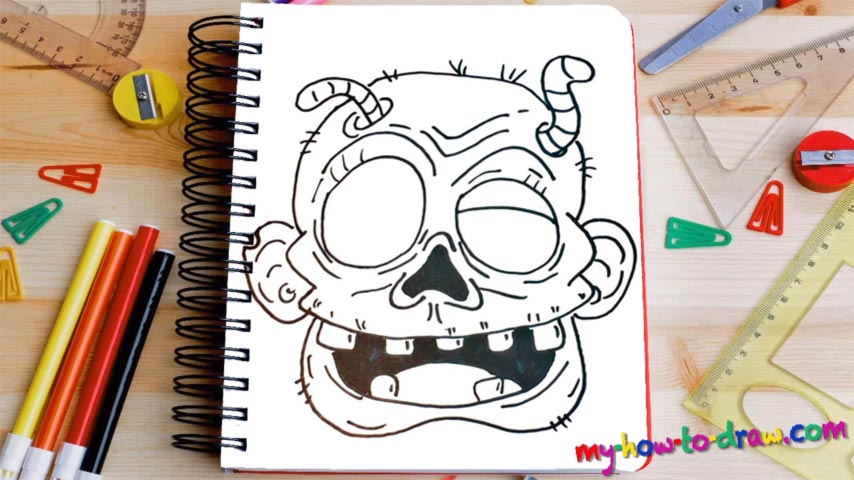
Begin with the left eye. You’ll need just a simple oval shape for it (00 min 05 sec). And please keep in mind that you won’t find many symmetrical features in this drawing. As for the right eye, it’s more of a circle and there’s a horizontal line in the middle. The wrinkles and the brows make this part of the how to draw a Zombie tutorial more realistic (00 min 30 sec).
The nose is pretty much a big bone – no flesh is left there (00 min 50 sec). Color the middle that looks like an arrow black. Ok, now let’s shape the head (01 min 22 sec). Use two simple lines for that. See those nasty worms coming out of the top of the head (01 min 34 sec)? All you’ll need for them is a couple of basic curves.
The ears, the next step in this how to draw a Zombie tutorial, are the most symmetrical part (02 min 16 sec). A series of C-like shapes will get the job done. The scary mouth is the final stage (02 min 48 sec). There are 5 teeth in the upper corner and only two at the bottom. Color the inner part black but leave a white spot for the tongue (03 min 24 sec).
Before you learn how to draw A Zombie, did you know?
No person out there can tell you the exact answer to the following question: why did zombies become so popular? Obviously, that happened thanks to the amazing comic books, TV shows, movies, and video games. But when did it start and what was the main “driver” behind this phenomenal success? These days, zombies are the stars of every single show!
Also known as the undead, they come back to life as corpses and feel no pain. In fact, they are deprived of all those emotions that used to make them human. Zombies are forced to constantly move towards the smell of fresh meat. And the only purpose in their heads is feeding. Sounds sad, doesn’t it? But that’s the truth!