Learn How To Draw A Hot Air Balloon Quickly
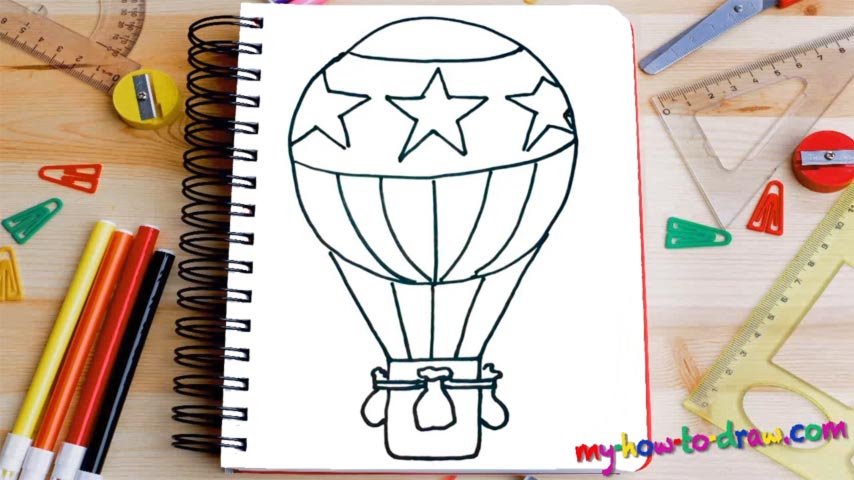
As always, we start with the biggest part of the drawing, and in this case, it’s the balloon (obviously). We’ll need a huge circle in the upper corner (00 min 07 sec). Next, add two similar lines on both sides for the cables (00 min 24 sec). See those bags hanging from the very bottom – three in total (00 min 50 sec)?
They’re the next step in this how to draw a Hot Air Balloon tutorial. They are there to keep everything in balance. The “cabin” is just a tiny space that can take in approximately 5-6 people. Usually, only couples take rides on balloons; so, capacity is not a problem. Create three more cables to make sure the balloon holds (01 min 08 sec).
The final stage of this how to draw a Hot Air Balloon tutorial is the texture of our balloon (01 min 14 sec). It’s divided into three parts. The one on top is empty. The middle part is covered in beautiful stars. The bottom comes with a series of identical lines (01 min 24 sec).
Before you learn how to draw A Hot Air Balloon, did you know?
If you’re a young man and want to impress your significant other, a ride on a Hot Air Balloon might just turn out to be the most amazing ride of your lives. Let the professionals take care of all the preparations and enjoy this once-in-a-lifetime opportunity with your partner. By the way, this is the very first flying vessel in the history of our kind.
Back in 1783, two brilliant scientists used a balloon to fly over France. The experiment was successful and created a lot of international buzz. It took the Americas ten years to do what the Europeans did, and the balloon was still launched by a French man. Yes, there’s a lot of history behind this magical creation, and no plane and/or chopper out there can compete with it.