Learn How To Draw A Book (Kawaii Version) Quickly
The front page comes first. It looks like a slice of good old bread, doesn’t it (00 min 06 sec)? Please remember that this how to draw a Book (Kawaii Version) tutorial is three-dimensional, and these simple lines are there to imitate that (00 min 17 sec). As for those vertical and horizontal lines, you can use them to add more “pages” to your book. (00 min 28 sec). It’s all in the perspective, remember that.
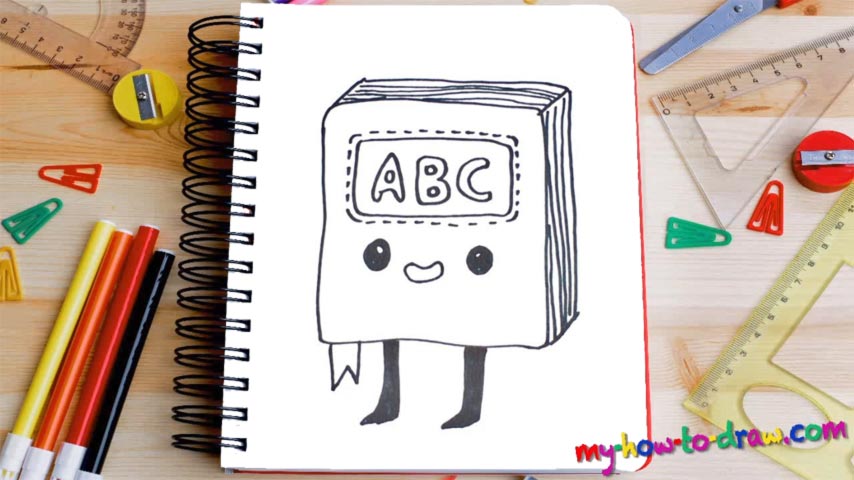
Ok, now it’s time to work on the cover (00 min 53 sec). We’ve got a classic rectangular shape in the upper corner with cute dotted lines around it. Inside, there are three letters – A, B, and C (01 min 23 sec). They’re pretty standard and fit the whole notebook vibe perfectly. Once it’s done, move further with this how to draw a Book (Kawaii Version) tutorial and add the facial features that will make it stand out from the crowd.
The eyes come first (01 min 47 sec). Leave two tiny white spots inside each. The nose sits right between them (02 min 20 sec). It looks like a tiny sausage. The legs are the last step. They are identical and you’ll need to paint them black.
Before you learn how to draw A Book (Kawaii Version), did you know?
The greatest thing about this style is that it doesn’t come with any limitations. Basically, it’s the art of turning something ordinary and routine into a funny and/or cute masterpiece. Take the book in this tutorial, for example: without those cute facial features, it’s nothing special.
But with the eyes, the nose, and the tiny legs, it looks like a character from an animated movie, doesn’t it? Plus, it’s not that hard to turn your favorite objects into Kawaii pieces, as you’ll learn today in this video lesson. The beauty of art is in exploration and in going beyond the borders.