Learn How To Draw Sneakers Quickly
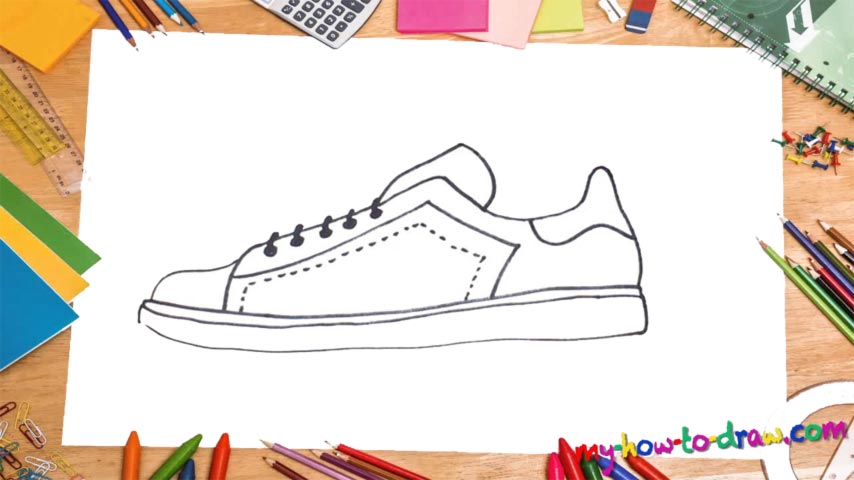
Start with the bottom of the kicks (00 min 06 sec). For that, you’ll need a long horizontal line in the lower corner of the paper. It’s made up of two parts. The one on top is much thinner and is the “glue” between the sneaker itself and the bottom (00 min 22 sec). Ok, now that the intro to this how to draw Sneakers tutorial is done, let’s move on to the next step – the main part.
Follow my video guide closely and make sure you get everything right with the curves (00 min 32 sec). After you’re done with the basic lines, the drawing will begin to look like the real thing. All that’s left for us to do now is work more on the details and turn our composition into a masterpiece. With that said, go ahead and add that trademark line on the side of the shoe just like you see in my example (01 min 16 sec).
The “dots” are the next step in this how to draw Sneakers tutorial (01 min 24 sec). They copy the shape that we put in a second ago and make everything look better. The laces are the final step in this video guide (01 min 38 sec). Overall, we’ve got five of those. You’ll need a tiny circle and a thick enough (but short) line for each. Yes, it’s pretty easy.
Before you learn how to draw Sneakers, did you know?
What’s the difference between the running shoes and the sneakers? No one can give a straight answer to that. At the same time, there’s no denying the fact that these oh-so-popular shoes have successfully taken over the entire planet. They are cheap, comfortable, and look cool.
Even the big-time CEOs and other high-ranking men and women prefer them over the ridiculously-expensive pairs of shoes that were huge back in the day. I bet you’ve got at least one or two pairs of sneakers at home. Or maybe you’re even wearing them right now!