Learn How To Draw A Halloween Pumpkin Quickly
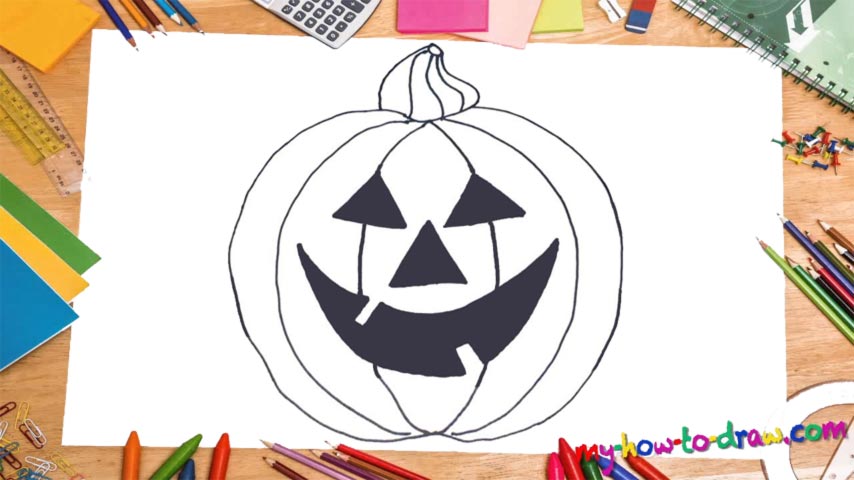
The vegetable is pretty huge and almost touches the bottom of the paper. Both sides are identical to each other, and I recommend completing the right half before getting to the left half. Start at the top and create a curve that looks like a reversed “C” (00 min 06 sec). Next, do the same on the left side with an opposing “C” (00 min 17 sec) without changing anything else.
Ok, now we’re done with the intro to this how to draw a Halloween Pumpkin tutorial. Connect them to each other at the bottom. As for the top, follow my lead and add the “hat” (00 min 27 sec). Once you’re done with that, create an oval in the middle of the pumpkin’s body (00 min 45 sec). Make sure it’s not too wide and/or narrow.
The eyes are the next step in this how to draw a Halloween Pumpkin tutorial (01 min 00 sec). They both look like big triangles hanging from the top. Color them black before moving on to the mouth. It resembles a half-moon slash a dagger (01 min 35 sec). Obviously, you should paint it black as well. The nose right between the eyes and the mouth is the last thing to take care of (02 min 42 sec).
Before you learn how to draw A Halloween Pumpkin, did you know?
Just like fir-trees are the symbols of Christmas, pumpkins are an integral and essential part of the Halloween routine. This tradition has been around for a couple of centuries. Men and women all over the world carve out the eyes, the nose and the mouth using a sharp knife.
The end result looks pretty creepy, especially when you find yourself lost in a strange neighborhood in the middle of the night. They say that initially, these pumpkins were meant to scare the crows, but these days, we use them just for fun. Halloween brings out the craziness in all of us!